Saturday, December 31, 2011

Broiled Pesto Salmon

Since we opted to stay home for New Year's Eve this year, I decided to make a restaurant-worthy meal for DH and I.  This meal was inspired by a salmon dish I had eaten once at a restaurant (I can't remember the name) several years ago.  I don't really measure much so the following measurements are approximations.


INGREDIENTS:


2 Salmon fillets (one serving size each)
1 package (8 oz) sliced baby portabella mushrooms
1 bag (10 oz) fresh baby spinach leaves
1/2 teaspoon dill weed
1-2 tablespoons of unsalted butter
1-2 tablespoons of extra virgin olive oil
1/8 teaspoon nutmeg
1/4 cup grated Parmesan cheese
juice from half a lemon
2 tablespoons basil pesto
salt and pepper to taste

Set Broiler to HIGH

Melt 1 tbsp of butter and 1 tbsp of olive oil over medium heat in a large skillet.  Add mushrooms and saute until they are brown and tender.  Salt and pepper to taste after mushrooms have browned.  (adding salt before they are cooked will pull the moisture out of mushrooms).

While the mushrooms are cooking, season both sides of each salmon fillet with salt, pepper and dill weed.  Line a deep metal pan with a piece of foil sprayed with non-stick cooking spray.  Place the fillets on the foil, topping each with a small drizzle of olive oil and a dab of butter.  Broil on HIGH for 5-10 minutes, depending on how cooked you prefer your fish.

As the fish is cooking, add the entire bag of baby spinach leaves to the cooked mushrooms and continue to heat until the spinach begins to wilt.  Add a pinch of nutmeg, toss.  Remove skillet from heat and add Parmesan cheese.  Toss to mix the cheese throughout the spinach.

Remove the fillets from the broiler.  Squeeze the lemon juice over the hot fillets.  Spoon half of the spinach mixture onto a plate, creating a bed for the salmon.  Place the salmon fillet on top of the spinach.  Repeat with the remaining spinach and remaining fillet.  Top each fillet, while they are still hot, with a spoonful of pesto.  Serve with a side of your choice.  (I chose a boxed garlic and herb couscous).

Serves 2

Friday, December 30, 2011

I'm baaaack!

So, I know I've been MIA for a few months but apparently babies really take up a lot of one's free time! Here's the condensed version of our life since September:

In late September, we welcomed The Joyful Baby into our lives!  Labor was surprisingly easy (Thank goodness. Pregnancy was rough.  I earned it.)  JB has been an amazing blessing of an addition to our family.  She's such a happy baby, smiling all the time and, more recently, babbling non-stop.  Wonder where she gets that?  Must be from her father…

Anyhoo, we had DH's parents down right after she was born.  Then my parents, brother and sis-in-law and nephew came down for Thanksgiving where I hosted dinner outside on our lanai.  We figured what better way to celebrate a Florida Thanksgiving?  The weather was gorgeous!  Everyone is totally over the moon for this little girl!  We also squeezed in JB's first Pumpkin Patch experience right before Thanksgiving.  We picked out a Mommy pumpkin, a Daddy pumpkin and a Baby pumpkin!


Our Outdoor Florida Thanksgiving Dinner Table

I had lots of fun decorating the house for Christmas this year.  It's always been my favorite holiday and I was extra excited since we had JB around for this one.  I started in early November.  Having a new baby to tend to meant that it took a few weeks, but it finally got completed.  I wanted to have everything up before my family arrived for Thanksgiving.  
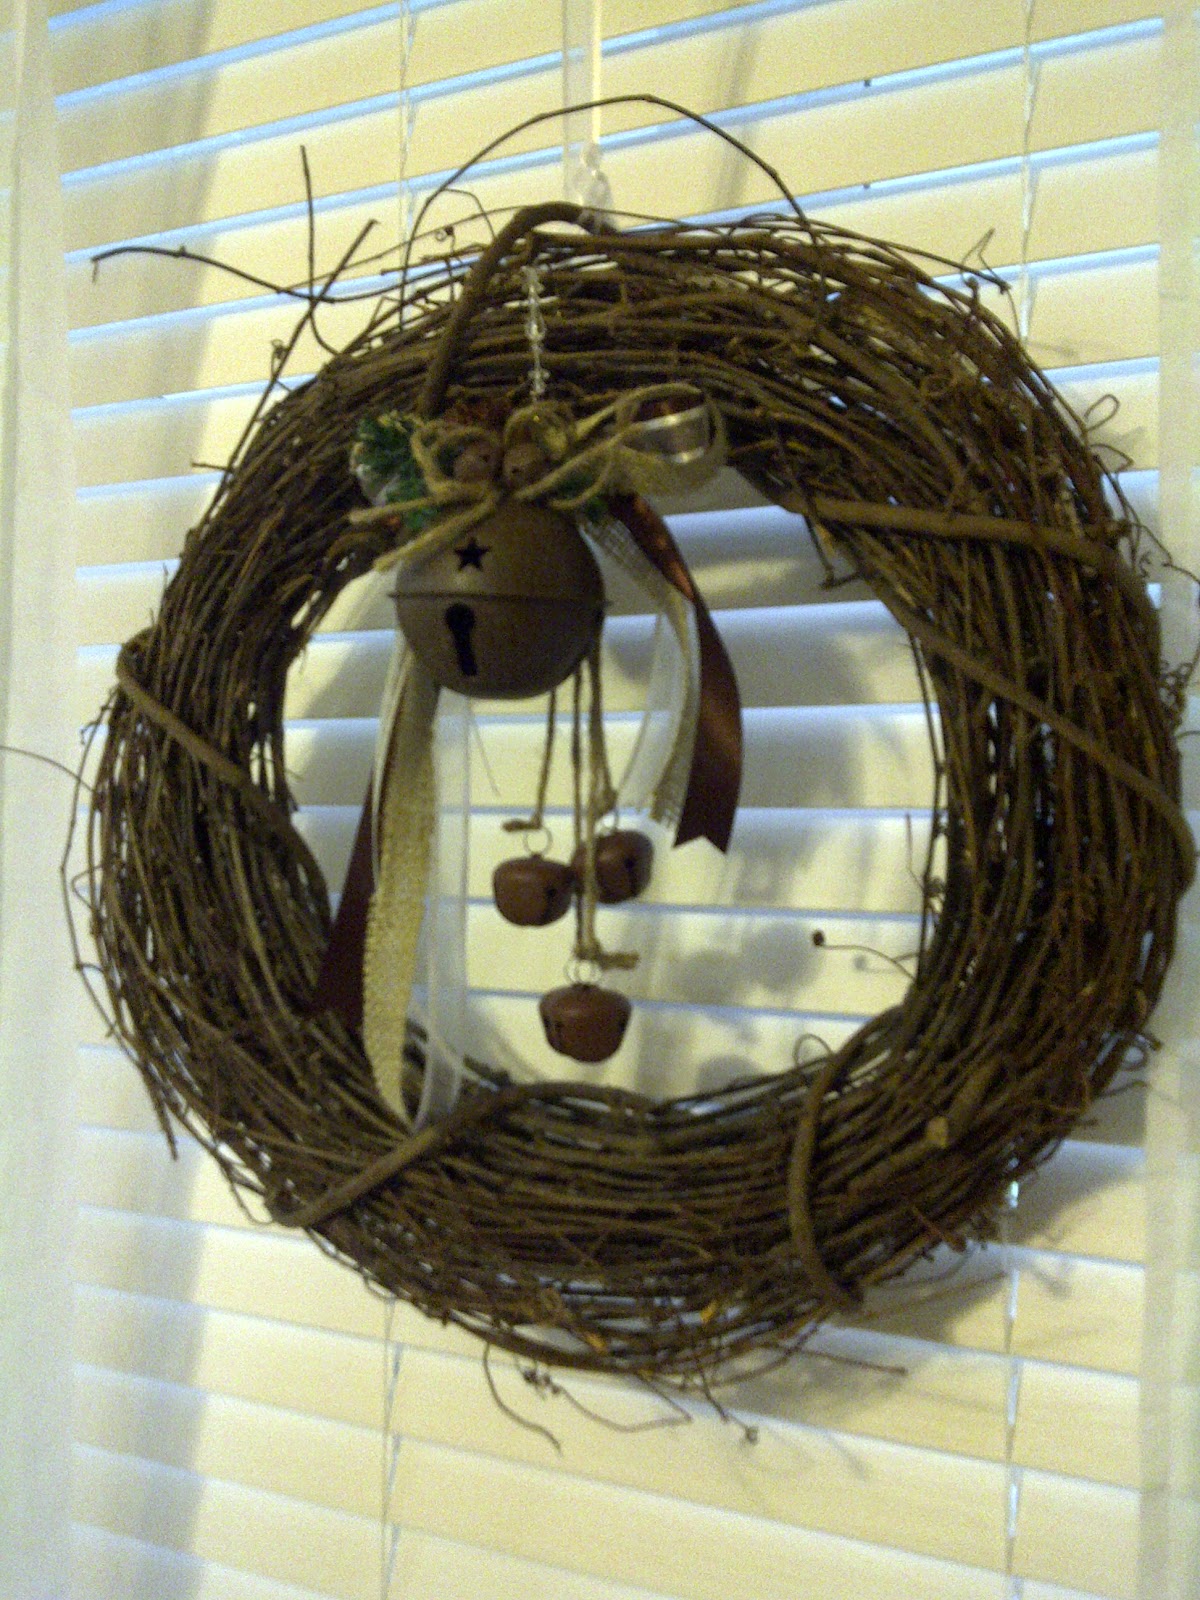
Here's a link to my Christmas decor.

Our first Christmas with JB was fun.  We took her to see Santa.  She was so sleepy in line we were afraid she might cry in his lap.  She didn't smile for the picture.  She was way too interested in the skylights and everything else new around her.  Even after waving jingling toys, goo-gooing at her and fluttering around like a moron in a mall full of people to get her attention, she didn't smile.  But she also didn't cry, poop or spit up on Santa so we called it a win-win scenerio.  Of course the second Santa handed her back to me, she turned to him and flashed one of the biggest, gummiest smiles ever in his direction. *sigh* Oh well.  Maybe next year?

(This Santa looked so much like the real thing I almost bumped JB out of the way and took a turn myself!)


Two happy parents and one SLEEPY little girl


On Christmas morning, we tried to let her "help" open her gifts by slipping her tiny fingers around some of the paper but she was still pretty sleepy.  Less than five minutes out from all the gift-opening excitement, she was out like a light.  We Skyped the family, then went to my cousin's house for my extended family's Christmas party.  JB got to meet my cousin's new baby girl for the first time.  They are only 5 weeks apart (JB's the oldest) and were so cute together!


As far as work went, our original plan was for me to return after my three-month maternity leave.  As that time came closer, we were back and forth on the decision.  Could we afford to have me be a SAHM?  I just couldn't imagine leaving this sweet angel's side.  We prayed (constantly!) about it and finally decided that I would stay home with JB.  We both feel such relief and happiness to have finally come to a decision and are very pleased with it.  There will be lots of sacrifices made, but for our family, this was the best choice for us.

So now that the new year is right around the corner, I'm ready to enter Mommyhood full force.  I've literally stumbled my way through the past three months (sleep deprivation will do that to you) and have finally developed somewhat of a rhythm.  I'd love to blog more.  It's a fun way to share the joys and journeys of our life.  Who knows, maybe someday people will actually READ it! (besides my mom, haha)  Take care all, and many blessings into the new year!

Christmas Home Decor 2011

This year marks our first Christmas with JB.  I wanted to leave no stone unturned for her first Christmas season so I decorated everything I could get my hands on!  I went very adult and rustic/elegant inspired because this will be the last year for quite some time that I'll be able to display breakable/edible/dangerous items.  At the bottom of this post, I uploaded a pic of the loot I scored on sale at Target the day after Christmas for next year.  Next year's Christmas will be MUCH different.  Lots of bright colors, PLASTIC ornaments and very whimsical.  Think Christmas in Who-ville.  I can't wait!  Now without further ado, I present to you, Christmas in the Joyfully Random Home!


Just noticed the can of pledge on the shelf. Oops.


My in-laws got us the "Our 1st Christmas" wedding ornament last year and the "Baby's 1st Christmas" ornament this year.


And as for that sneak peak into next years Christmas…


Merry Christmas from The Joyfully Random Family to you!

Wednesday, September 14, 2011

Chalkboard Guestlist

When DH and I got married, we had decided on a very intimate wedding consisting of our immediate family only.  It was a wonderful idea and made the day so special to be surrounded by our loved ones.  

Since it wasn't your "typical" wedding, we had to find unique ways to do traditional aspects of the wedding, like our guest list.  It seemed silly to have an entire guest book devoted to 12 signatures, plus I wanted something I could see everyday as a reminder of that special day.  I saw something similar to this chalkboard "word find" as a random google image and was totally SOLD!  The project occurred in many steps, but here is the finished result in our dining room:

(I cropped our last names out for privacy)

We started with a piece of 1/8" MDF that we painted with about three coats of chalkboard paint.  After that dried, it was time to paint the letters for the word find on the board.  I took advantage of a slow day at work to whip out a pencil and paper and write up about a bazillion different configurations for the lettering, making sure it fit each family member's first name, our wedding date, my maiden name and my married name.  After re-checking for the umpteenth time for any accidentally hidden swear/dirty words or mistakes, I had a final draft.  I then divided the board up equally for each line, making tiny marks with a pencil on each side, then taping regular thread all the way across, then vertically to make equally spaced squares to paint my letters within.  This part was a little time consuming, but I wanted it perfectly symmetrical.  I just used a simple paint pen and a steady hand (first time for everything...) to hand write the letters in.  I liked the look of a handwritten board, it made it more personal. 

We had a "Wedding Eve Dinner" (since we didn't need a rehearsal) with our family so we lugged this big floppy board into the restaurant where everyone was able to find and circle their names on the board.  It was fun and everyone was excited for their turn!


After we got the board home (carefully!!!) we sprayed a sealer over the whole thing to keep the chalk from smearing.  Of course we figured out the hard way that a matte finish was the most appropriate finish.  After two WAY too shiny coats of one sealer, we bought the matte finish, sprayed it again and it worked like a charm.

Since the board was so floppy and thin, we decided to build a nice beefy frame for it to attach to for hanging.  After a few sketches, we decided on a design and we DH began building. Here's the frame:


We put a layer of wood glue down on all of the wood, then laid the chalkboard facing upward, flush against the edge of the frame and on top of the support pieces (which we set just 1/8" back from the frame edge so that the board would lay flush).  DH used small nails along the very edges to secure the board to the frame. We flipped it over and stacked a bunch of books on the back to help the board adhere to the support pieces.  Once it was dry, DH attached the mitered trim pieces to the front (also offering further security to the board) then I painted the trim on the front and sides black. 

To hang, DH secured a long wood strip to the studs in the wall and we just hooked the top of the board over the wood strip and screwed it into the wood strip from above.  It's VERY secure!  Here's a close-up and another shot of the finished product.  We love it and get lots of compliments on it!  It's a great reminder of our wedding and those who shared that special day with us.


Monday, September 12, 2011

Living Room Progress--Almost there!

As I've mentioned, I have a love of all things Pottery Barn, so when we moved into our new house almost two years ago, I decided that I really wanted our home to have that cozy, comfy, oh-so-personal feeling that PB exudes.  Our living room is still a work in progress, but it has come a long way! Here's the process along with inspiration and ideas for the future.


I was SO inspired by these Pottery Barn Studio shelves:


So we were thrilled to find two similar shelves from JCPenney on close-out sale!  Here's my final (for now) result:


They could use a little bit more "bulking up" with some larger pieces, but I have made it a point to put a lot of the items that are special to me on these shelves so that I can always see them.

I love our leather Lazy-Boy sectional because it also has a recliner on each end. I wanted it to be comfy so there are some nice, fluffy PB pillows and throw blankets all over.  My plan is to put a tree behind the sofa in the corner and I desperately need a table lamp on my side (beside the window). I'm also on the lookout for a different form of magazine storage beneath my nesting tables.  This basket is a little too small. The nesting tables were a craigslist find for $20 for the set. DH did a WONDERFUL job sanding them down and painting them this clean, antique white.


We probably won't be putting a coffee table in the living room anytime soon with Baby Adrianne coming.  If she's anything like me (from childhood to present day) she'd be smacking into it daily if we had one.

Our TV corner is almost there.  I managed to really spruce it up during my "Extreme Nesting" phase and I'm only lacking that big white shelf inspired by this one in PB (which will certainly be a DIY project!) to complete the look.


So that's it for now.  Hopefully we'll finish this room up in no time so we can move on to even more projects in the other rooms! I think the dining room is on the chopping block next...


Sunday, September 4, 2011

Extreme Nesting

I do believe this baby is on her way...


I woke up this morning at 5 o'clock sharp, ready to tackle the world. Or at least finish my fall decor.  


Yesterday, I forced invited DH to join me on a trip to the Dollar Tree.  I have been reading throughout BlogLand that they have some nice vases and hurricanes so I figured, for a buck, why not?  I picked up eight in various sizes, along with some Spanish moss, red berry vase filler (never too early for Christmas supplies) and some apple cinnamon potpourri (not that it's that scented, but it was really a gorgeous red color that I couldn't resist!)


When I got home I spread all my goodies out on the dining room table and let the inspiration flow.  I wanted to make something to go on the two candles sconces I scored for 50% off at Hobby Lobby.


So using some inspiration from my beloved Pottery Barn, I decided to "build" a candle scene that could be changed out for every holiday/season.  I started with my tallest vases, some leaves from some garland (Hobby Lobby) and some old candles I've had in the cabinet.


Once I had enough moss in the vase, I dropped the candles inside.  At some point (after this picture was taken), I realized that these candles were going to be way too short, so I did some swapping around the house for the taller ones.


The tricky part was tying the leaves to the vase with my ribbon.  I didn't want to glue them because I wanted the leaves to be reusable every year.  There are no pictures of this part because I needed my hands, my feet and teeth to hold the leaves on while adding more and holding the ribbon taut then tying it.  But regardless, here's the end result:


Now if I can convince DH to go buy some drywall screws, we'll have these puppies up in no time! 


The other project I wanted to tackle was our "H" wreath.  I had purchased a grapevine wreath to hang in our TV corner but couldn't bare to let it remain "nekked"!  I love monograms, but DH, not so much.  I managed to convince him that a white, painted "H" floating in the middle would be just perfect.  I think he is exhausted with my "ideas on overdrive since becoming pregnant" so these days most of them are just met with his daily phrase of "Whatever you want to do, whatever makes you happy."  I love that man…


So, armed with a wooden "H" from Hobby Lobby (love that store) and some white acrylic paint, I went to town.  


Then I left it to dry overnight.

Scene Two: Five o'clock this morning

Bright-eyed and bushy-tailed, I lept rolled my pregnant butt out of the bed and started where I left off.


My "H" was dry, albeit with a few pieces of the sales paper stuck securely to the back. Oops.  Anyway, I figured I would just tether it to the wreath using some clear thread from all four corners.  Sounds simple enough, right?  Umm hmm… 


So, nine months VERY pregnant, I dragged a kitchen chair over to the wall and started tethering.  Now, common sense would say, take the wreath off the wall and hang the "H" from a normal position.  But, as my poor bewildered husband shuffled sleepily into the living room to see his weeble of a pregnant wife standing on a chair, hanging letters from invisible string, losing blood circulation to her fingers, it was safe to say, common sense was not in the cards at the moment.  


Public Service Announcement:
Now before you think DH is horrible for "letting" me stand on chairs PREGNANT, I must remind you that I am terribly stubborn and once I get an idea, it's over.  He has tried, but has learned that the easiest thing for him to do is just hang around, keep a safe eye on me, and let me be.  Did I mention how much I love this man?


So after all that, here is the final result of our "H" wreath.  And of course I couldn't resist tucking some fall leaves throughout the wreath.  And while I'm at it, why not stick some everywhere else in the living room?  And while I'm at that, why not put together two more quick fall votives using some more moss, one fall leaf and an LED tea light candle?  Did I mention I dusted?  Oh yeah, I'm nesting.


Sorry for the grainy pics.  It WAS before sunrise after all.


We are working on a project for the BIG blank wall.
We're thinking something like this amazingly awesome shelf
from Pottery Barn.